created : 2021-12-05, updated : 2021-12-05
Introduction
GraphQL은 2015년에 Open Source로 Facebook이 공개하였다. 나는 그 당시는 REST API 위주로 프로젝트를 하고 있어 언젠가는 봐야지하고 미뤄놨던 기술이다. 이번에 Spring GraphQL에 대한 Spring Tips의 동영상을 보고 정리해보기로 했다. Spring GraphQL은 아직 (2021년 11월 현재) GA는 아니고 M2 단계이다. GraphQL이 Spring에 포함되면서 개발 편의성이 높아질 것으로 생각된다.
라이브러리 설정하기
Spring GraphQL이 아직 GA가 아니여서 Spring Initializr에서 SNAPSHOT 으로 선택을 하고 생성해야한다. Repository를 GA가 아닌 부분에서 가져와야 하기 때문이다.
Dependencies
- Reactive Web Service : Reactive Web을 구현하기 위함.
- H2 Database : 메모리 데이터베이스
- Spring Data R2DBC : Reactive 환경에서의 Persist data를 구현하기 위함.
- Spring GraphQL : graphql 사용을 위함=
JDK 17 사용하였다. Source에서 entity를 record를 사용하였다. (JDK 16 부터 정식지원되는 기능이다)
SNAPSHOT 으로 프로젝트를 만들면 Milestone Repository 를 사용할 수 있다. Spring GraphQL은 아직 M이기 때문에 이 부분이 필요하다.
1
2
3
4
5
6
7
8
9
	<repository>
		<id>spring-milestones</id>
		<name>Spring Milestones</name>
		<url>https://repo.spring.io/milestone</url>
		<snapshots>
			<enabled>false</enabled>
		</snapshots>
	</repository>
Note. 해당 Tutorial의 Source는 GIT Repository에 있다.
Note. 처음에 Library를 설정하는 방법이 복잡하니 GIT Repository의 initial 을 사용하면 된다.
Database 구성하기
먼저 구현을 위해 데이터를 정의해보겠다. 시작에서 메모리 DB(H2) 와 R2DBC를 추가했었다. 간단하게 DB를 Product와 Review를 구성해보겠다. main/resource에 schema.sql, data.sql 파일을 만들어 Application이 실행될 때 데이터베이스를 생성하고 데이터를 넣도록 하였다.
Table 설명
- product : 책정보를 가지고 있다.
- review: 책에 대한 Review 정보를 가지고 있다.
파일은 아래 링크를 참조하여 만들어보자.
GraphQL 구성하기
main/resource에 graphql 디렉토리를 생성한다. 해당 디렉토리에 schema.graphql 파일을 만든다. 아래 기능을 구현을 하면서 하나씩 추가를 하기로하고, 먼저 Product에 대해 간단한 서비스를 구성해보자.
파일: schema.graphql
1
2
3
4
5
6
7
8
9
type Query {
    products : [Product]
}

type Product {
    id: ID
    title: String
    author: String
}
Query에는 API/Procedure를 등록한다. 해당 부분을 구현해야한다. 넘길 Argument, Return Object등을 등록한다. 이 부분은 products 로 요청하면 Product 배열([]) 로 전달한다. Product는 id, title, author 로 구성이 되어 있다.
Controller, Repository 구성하기
이제 구현을 위한 틀을 만들어 보자. 먼저 Controller를 생성해보자.
Note: 폰 튜토리얼의 소스코드는 편의상 한곳(GraphqlApplication.java)에 구현을 하였다. 실제 구현을 할때는 Controller Class, Interface 를 다른 파일로 만들어야 한다.
파일: GraphqlApplication.java
1
2
3
4
@Controller
class ProductGraphqlController {

}
Repository, Record를 추가해보자. H2 DB에서 Product 정보를 조회하기 위한 Interface 와 record 이다.
1
2
3
4
5
6
interface ProductRepository  extends ReactiveCrudRepository<Product, Integer> {
	Flux<Product> findByTitle(String title);
}

record Product(@Id Integer id, String title, String author, String ISBN) {
}
Repository를 선언을 하자.
1
2
3
4
5
6
7
8
9
10
11
@Controller
class ProductGraphqlController {

	// Repository
	private ProductRepository productRepository;

	public ProductGraphqlController(ProductRepository productRepository) {
		this.productRepository = productRepository;
}

…
이제 큰 구조는 작업을 완료하였다. 다음은 schema.graphsql에서 Query로 선언한 부분을 구현해보자.
Product 조회 (전체) 구성하기
schema.graphql 에 Query 에 products라는 Method 를 선언하였었다. 전달받은 Arguments는 없고 Product 배열을 반환하게 선언을 하였다. 이 부분을 구현해 보자.
Controller 안에 아래와 같이 추가를 한다.
1
2
3
4
@QueryMapping
Flux<Product> products () {
return this.productRepository.findAll();
}
R2DBC(Persist Data)의 기본 Method를 이용하여 모든 정보를 조회하여 반환하도록 한다.
테스트 하기
이제 테스트를 해보자. Application을 구동하면 아래와 같이 나오는 것을 확인할 수 있다.
1
2
3
4
5
6
7
8
9
10
11
12
13
14
15
16
. ____ _ __ _ _
/\\ / ___'_ __ _ _(_)_ __ __ _ \ \ \ \
( ( )\___ | '_ | '_| | '_ \/ _` | \ \ \ \
\\/ ___)| |_)| | | | | || (_| | ) ) ) )
' |____| .__|_| |_|_| |_\__, | / / / /
=========|_|==============|___/=/_/_/_/
:: Spring Boot :: (v2.6.1)
2021-12-07 13:05:23.607 INFO 39671 --- [ main] com.ahnchan.graphql.GraphqlApplication : Starting GraphqlApplication using Java 17.0.1 on ahnchan-laptop with PID 39671 (/Users/ahnchan/Workspaces/Study/graphql/tutorial-spring-graphql/complete/graphql/target/classes started by ahnchan in /Users/ahnchan/Workspaces/Study/graphql/tutorial-spring-graphql/complete/graphql)
2021-12-07 13:05:23.610 INFO 39671 --- [ main] com.ahnchan.graphql.GraphqlApplication : No active profile set, falling back to default profiles: default
2021-12-07 13:05:24.304 INFO 39671 --- [ main] .s.d.r.c.RepositoryConfigurationDelegate : Bootstrapping Spring Data R2DBC repositories in DEFAULT mode.
2021-12-07 13:05:24.357 INFO 39671 --- [ main] .s.d.r.c.RepositoryConfigurationDelegate : Finished Spring Data repository scanning in 48 ms. Found 2 R2DBC repository interfaces.
2021-12-07 13:05:25.460 INFO 39671 --- [ main] o.s.g.b.GraphQlWebFluxAutoConfiguration : GraphQL endpoint HTTP POST /graphql
2021-12-07 13:05:25.900 INFO 39671 --- [ main] o.s.b.web.embedded.netty.NettyWebServer : Netty started on port 8080
2021-12-07 13:05:25.912 INFO 39671 --- [ main] com.ahnchan.graphql.GraphqlApplication : Started GraphqlApplication in 2.774 seconds (JVM running for 3.707)
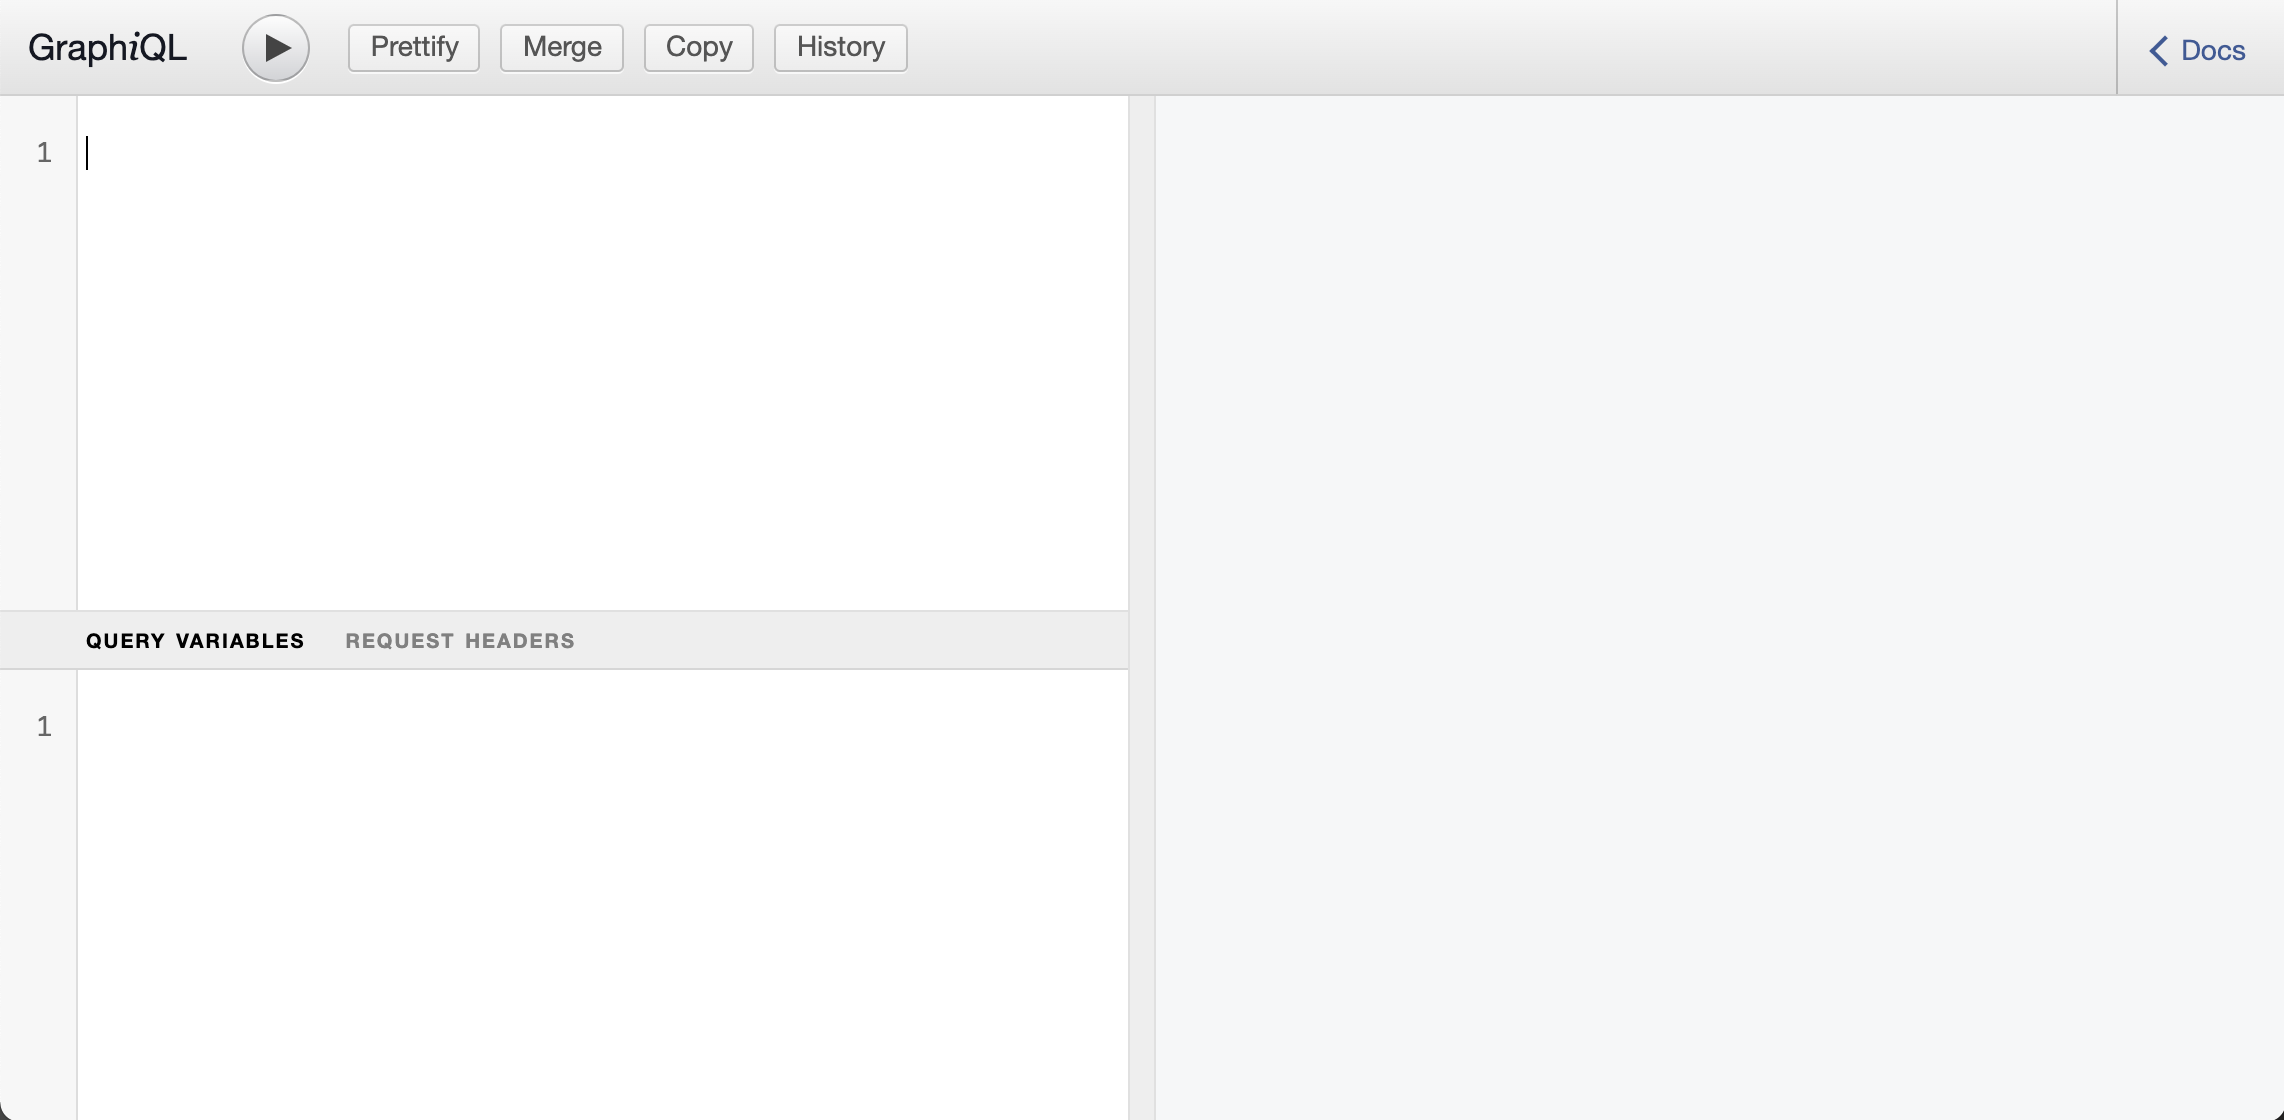
8080 포트로 서비스가 시작되었고 HTTP POST /graphql로 GraphQL Endpoint가 설정되었다고 볼수 있다. Postman과 같이 GraphQL Client를 지원하는 프로그램을 사용해도 되지만 기본으로 제공되는 인터페이스를 사용해보자. 브라우저에서 localhost:8080/graphiql(http://localhost:8080/graphiql) 을 입력하면 아래와 같은 화면이 나온다.

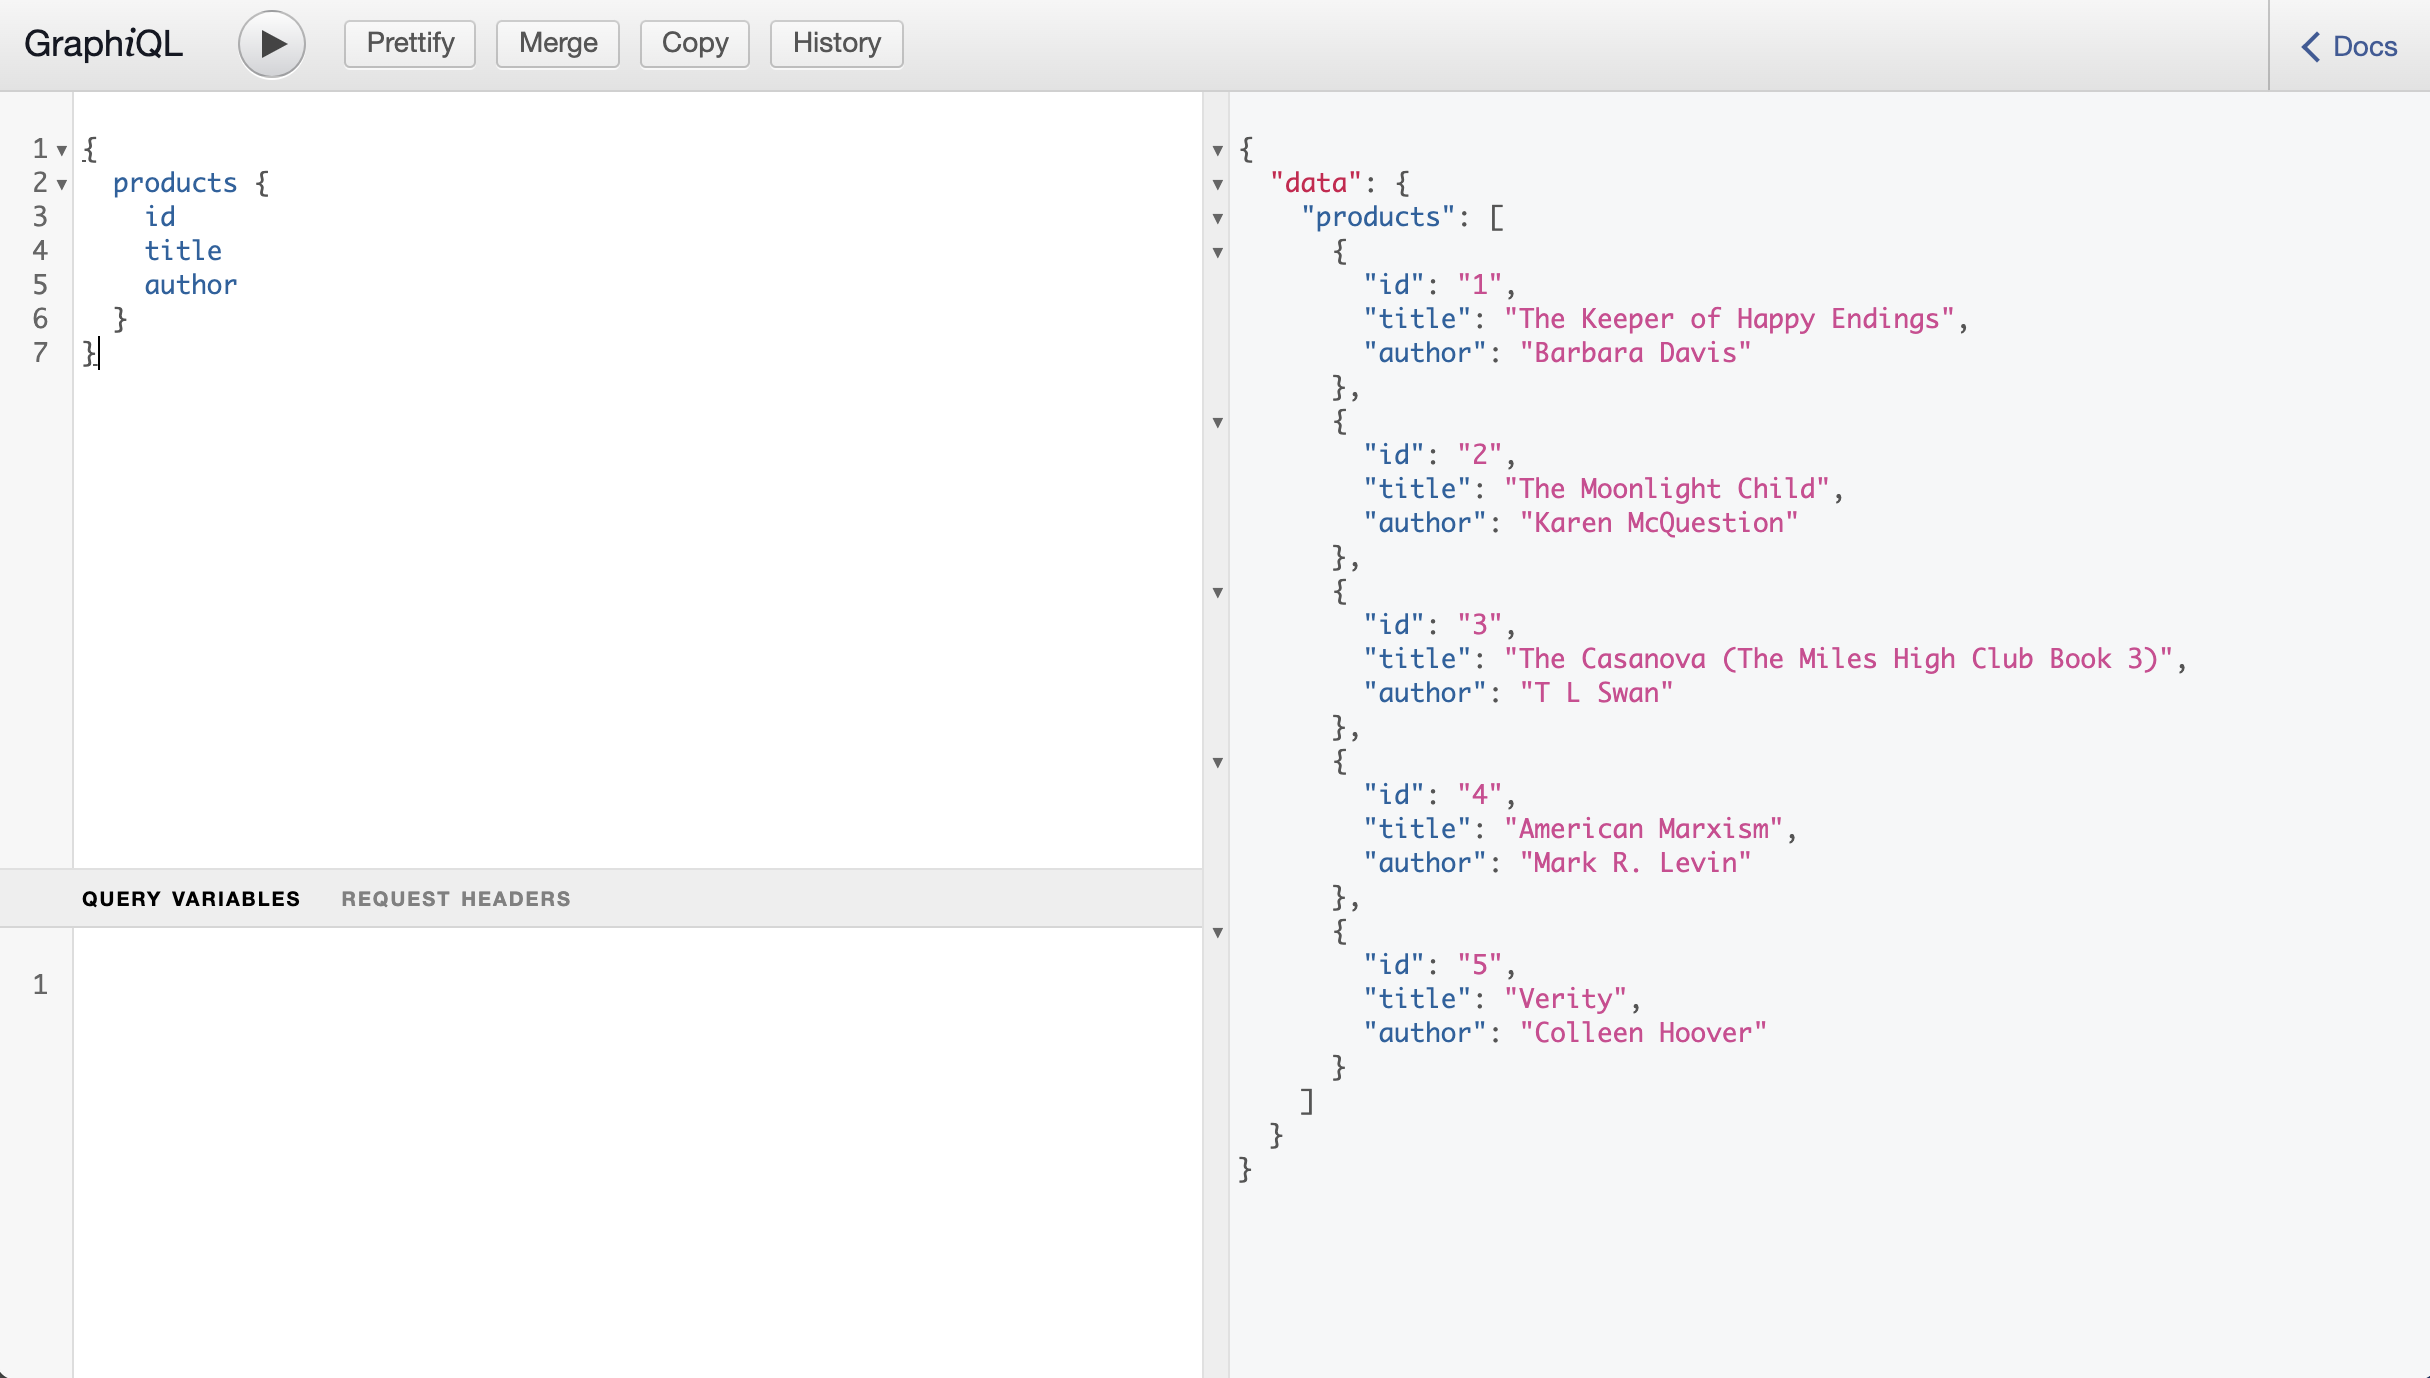
커서가 있는 부분에 아래와 같이 넣고 Play 버튼을 누르면 아래와 같은 결과를 보내준다.
1
2
3
4
5
6
7
{
  products {
    id
    title
    author
  }
}

결과값이 오른쪽에 나온다. 필요에 따라 Query에 id, title 만을 입력하여 정보를 선택적으로 받을 수 있다. 요청하는 쪽에서 필요한 정보를 선별(Query)하여 받을 수 있다.
Product 조회시 Review 정보를 같이 조회하기
이제 product 내에 review정보를 같이 받아보자. Review 부분은 다른 튜토리얼에서는 Microservice로 단독으로 Application이 존재하나 이곳에서는 한 Application에서 구현하겠다. Microservice로 구현을 하는 부분은 Cloud Native 튜토리얼에서 처럼 다양한 방법으로 구현할 수 있다.
GraphQL 선언에 Review를 추가해보자. 기존의 product 부분에 review를 추가하고 type도 추가하였다.
1
2
3
4
5
6
7
8
9
10
11
12
13
type Product {
    id: ID
    title: String
    author: String
    reviews: [Review]
}

type Review {
    id: ID
    productid: Int
    reviewer: String
    text: String
}
Product안에 reviews를 선언하고 Review의 배열을 선언하였다.
Review Repository, record 선언하기
Review부분을 선언하였으니 Application에 구현을 해보자. 먼저 Repository, record를 선언하자.
1
2
3
4
5
6
interface ReviewRepository extends ReactiveCrudRepository<Review, Integer> {
	Flux<Review> findByProductid(Integer productid);
}

record Review(@Id Integer id, Integer productid, String reviewer, String text) {
}
ReviewRepository에서 product ID로 Review를 찾는 부분을 추가하였다.
그리고 Repository 를 생성하는 Constructor에 정의하자.
1
2
3
4
5
6
7
8
	// Repository
	private ProductRepository productRepository;
	private ReviewRepository reviewRepository;

	public ProductGraphqlController(ProductRepository productRepository, ReviewRepository reviewRepository) {
		this.productRepository = productRepository;
		this.reviewRepository = reviewRepository;
	}
Review 조회 구현하기
이제 실제 Review를 조회하는 부분이다. reviews는 Product 안에 선언되어 있다. SchemMapping의 Type Name을 Product로 선언하고 reviews는 Method 명으로 구현하였다. Argument는 Product 객체이다. 우리는 이 객체를 받아 id를 가지고 review에서 productid가 같은 Review들을 조회한다.
1
2
3
4
@SchemaMapping(typeName = "Product")
Flux<Review> reviews(Product product) {
	return this.reviewRepository.findByProductid(product.id());
}
이제 구현은 완료되었다. Application을 재시작하고 테스트를 해보자.
테스트 하기
localhost:8080/graphiql 에서 테스트를 하려면, Refresh를 해줘야 한다. 명령부분에 아래와 같이 요청을 해보자.
1
2
3
4
5
6
7
8
9
10
11
12
{
  products {
    id
    title
    author
    reviews {
      id
      productid
      reviewer
    }
  }
}
요청하는 정보에 reviews 정보가 추가되었고 내용에 id, productid, reviewer를 요청하였다. 결과는 아래와 같이 review 정보를 조회하여 반환하였다.
1
2
3
4
5
6
7
8
9
10
11
12
13
14
15
16
17
18
19
20
21
22
23
24
25
26
{
  "data": {
    "products": [
      {
        "id": "1",
        "title": "The Keeper of Happy Endings",
        "author": "Barbara Davis",
        "reviews": [
          {
            "id": "1",
            "productid": 1,
            "reviewer": "linda galella"
          },
          {
            "id": "2",
            "productid": 1,
            "reviewer": "Klapaucjusz"
          },
          {
            "id": "5",
            "productid": 1,
            "reviewer": "DisneyDenizen"
          }
        ]
      },
…
Product 를 추가하기
이제 Product에 정보를 추가해보자. 정보 추가를 위해서는 Mutation 을 선언해야한다. schema.graphql 파일에 정보 추가 부분을 추가해보자.
파일: schema.graphql
1
2
3
type Mutation {
    addProduct(title: String, author: String, ISBN: String): Product
}
특정 Product 조회하기 구성하기
정보 추가 후에 테스트를 해야하기 때문에 먼저 추가된 Product를 조회하는 부분을 먼저 만들어 보자. Method 선언을 추가하자. ID를 가지고 찾는 Method와 Title을 가지고 찾는 Method를 추가하였다.
파일: schema.graphql
1
2
3
4
5
type Query {
    products : [Product]
    productById (id: Int) : Product
    productByTitle (title: String): [Product]
}
Application에 선언한 두 Method를 추가해보자.
1
2
3
4
5
6
7
8
9
@QueryMapping
Flux<Product> productByTitle(@Argument String title) {
	return this.productRepository.findByTitle(title);
}

@QueryMapping
Mono<Product> productById(@Argument Integer id) {
	return this.productRepository.findById(id);
}
Product 추가하기
Product를 추가하는 부분을 구현해보자. Annotation은 MutationMapping을 사용한다. addProduct 명칭을 같이 사용하였기에 추가로 Annotation 부분에 선언할 부분은 없다. Arguments로 title, author, ISBN정보를 받고 있다. ProductRepository를 이용하여 저장을 한다.
1
2
3
4
@MutationMapping
Mono<Product> addProduct(@Argument String title, @Argument String author, @Argument String ISBN) {
	return this.productRepository.save(new Product(null, title, author, ISBN));
}
테스트하기
먼저 저장을 해보자. mutation을 이용하여 저장 요청을 한다. 그리고 결과는 Product 정보에서 id, title, author를 받게 하였다.
1
2
3
4
5
6
7
8
9
10
11
mutation {
  addProduct(
    title: "DUNE",
    author: "Frank Herbert",
    ISBN: ""
  ) {
    id
    title
    author
  }
}
결과는 아래와 같다.
1
2
3
4
5
6
7
8
9
{
  "data": {
    "addProduct": {
      "id": "6",
      "title": "DUNE",
      "author": "Frank Herbert"
    }
  }
}
이제 조회 Query를 이용하여 지금 등록된 Product를 조회해보자. 아래와 같이 요청을 해보자.
1
2
3
4
5
6
7
8
9
10
{
  productByTitle(title: "DUNE") {
    id
    title
    reviews {
      reviewer
      text
    }
  }
}
결과는 아래와 같다.
1
2
3
4
5
6
7
8
9
10
11
{
  "data": {
    "productByTitle": [
      {
        "id": "6",
        "title": "DUNE",
        "reviews": []
      }
    ]
  }
}
Conclusions
GraphQL은 요청하는 (보통 Client)에서 자신이 원하는 데이터만 Query 하여 가져가도록 하는 것이다. Client에서도 Query 문법을 익혀야하는 문제도 있지만, 기존 REST API에서는 사용하지 않는 데이터를 받는 경우가 많기 때문에 좀 더 데이터량을 줄이기 위해 많이 사용하고 있다. 또한 통신부분을 GraphQL에서 담당하기 때문에 Client 개발시 통신에 대한 개발 부분(Client 개발자들이 힘들어하는 부분)을 줄일 수 있다.
GraphQL이 Spring에 포함이 되면서 더 쉽게 사용할 수 있게 되었다. 다음버전에는 GA가 된다고 들었으니 많이 사용할 것 같다.