created : 2021-11-09, updated : 2021-11-09
Introduction
Micro Service의 환경이 되면서 점점 더 Service간의 연계가 많아지면서 서비스가 복잡해지고 있다. REST API 로 스펙관리에 한계를 느끼고 있다고 한다. 그래서 다시금 RPC 개념이 사용되고 있다. 기존 RPC를 Google에서 좀더 안정적으로 사용할 수 있게 gRPC로 만들어서 오픈소스로 공개하고 있다. 옛날에 TCP/IP 통신을 위해 Protocol 을 디자인 하면서 접했던 Protocol Buffer를 이용하고 있다. 또한 다양한 언어에서 gRPC를 사용할 수도 있다. HTTP/2를 지원하고 있어 속도측면에서도 HTTP/1.1보다 빠른 속도로 통신을 할 수 있다.
Note. 본 튜토리얼은 OReiliy 의 Video 강의인 “gRPC [Java] Master Class: Build Modern API and Microservices “의 내용 듣고, 코드로 구현한 것이다. 좀더 자세한 내용을 원하면 해당 강의를 듣기를 권장한다.
Pre-Installation
- IntelliJ Community
- Java SDK
Note. 컴파일, 실행등 편의를 위해 IntelliJ 를 사용하였다. Java 는 11로 진행하였다. Note. 소스코드는 https://github.com/ahnchan/tutorial-gRPC에서 확인할 수 있다.
환경 구성하기
Java의 개발 환경을 구성해보자. 개발과 실행을 편리하게 하기 위해서 IntelliJ를 사용하였다. Community 버전은 다운 받아 사용할 수 있으니 JetBrain 사이트에 가서 IntelliJ Community Edition을 다운 받아서 사용해보기를 바란다.
Note. IntelliJ를 사용하지 않으면 Protocol Buffer CLI도 설치를 해야하고 스펙을 추가하였을때마다 번번히 Protocol Buffer CLI에서 명령어로 Generate를 해야하는 번거로움이 있다.
Gradle 구성
IntelliJ IDEA에서 gradle 프로젝트를 하나 만들고 gradle에 Dependency, plugin 등을 추가해보자. 참조링크
라이브러리를 추가한다.
파일: build.gradle
1
2
3
4
implementation 'io.grpc:grpc-netty-shaded:1.41.0'
implementation 'io.grpc:grpc-protobuf:1.41.0'
implementation 'io.grpc:grpc-stub:1.41.0'
compileOnly 'org.apache.tomcat:annotations-api:6.0.53' // necessary for Java 9+
plugin을 추가한다.
1
2
3
    id "com.google.protobuf" version "0.8.17"
    id 'java'
    id 'idea'
Protocol Buffer 에 대한 셋팅을 한다.
1
2
3
4
5
6
7
8
9
10
11
12
13
14
15
protobuf {
   protoc {
       artifact = "com.google.protobuf:protoc:3.17.3"
   }
   plugins {
       grpc {
           artifact = 'io.grpc:protoc-gen-grpc-java:1.41.0'
       }
   }
   generateProtoTasks {
       all()*.plugins {
           grpc {}
       }
   }
}
Gradle을 Refresh 하여 라이브러리, 설정이 적용되도록 한다.
Protocol Buffer 디렉토리 생성
Protocol Buffer의 정의를 위해 /src/main에 /proto 디렉토리를 만든다. .proto 파일을 이 곳에서 저장/관리한다.
IntelliJ IDEA에 환경설정
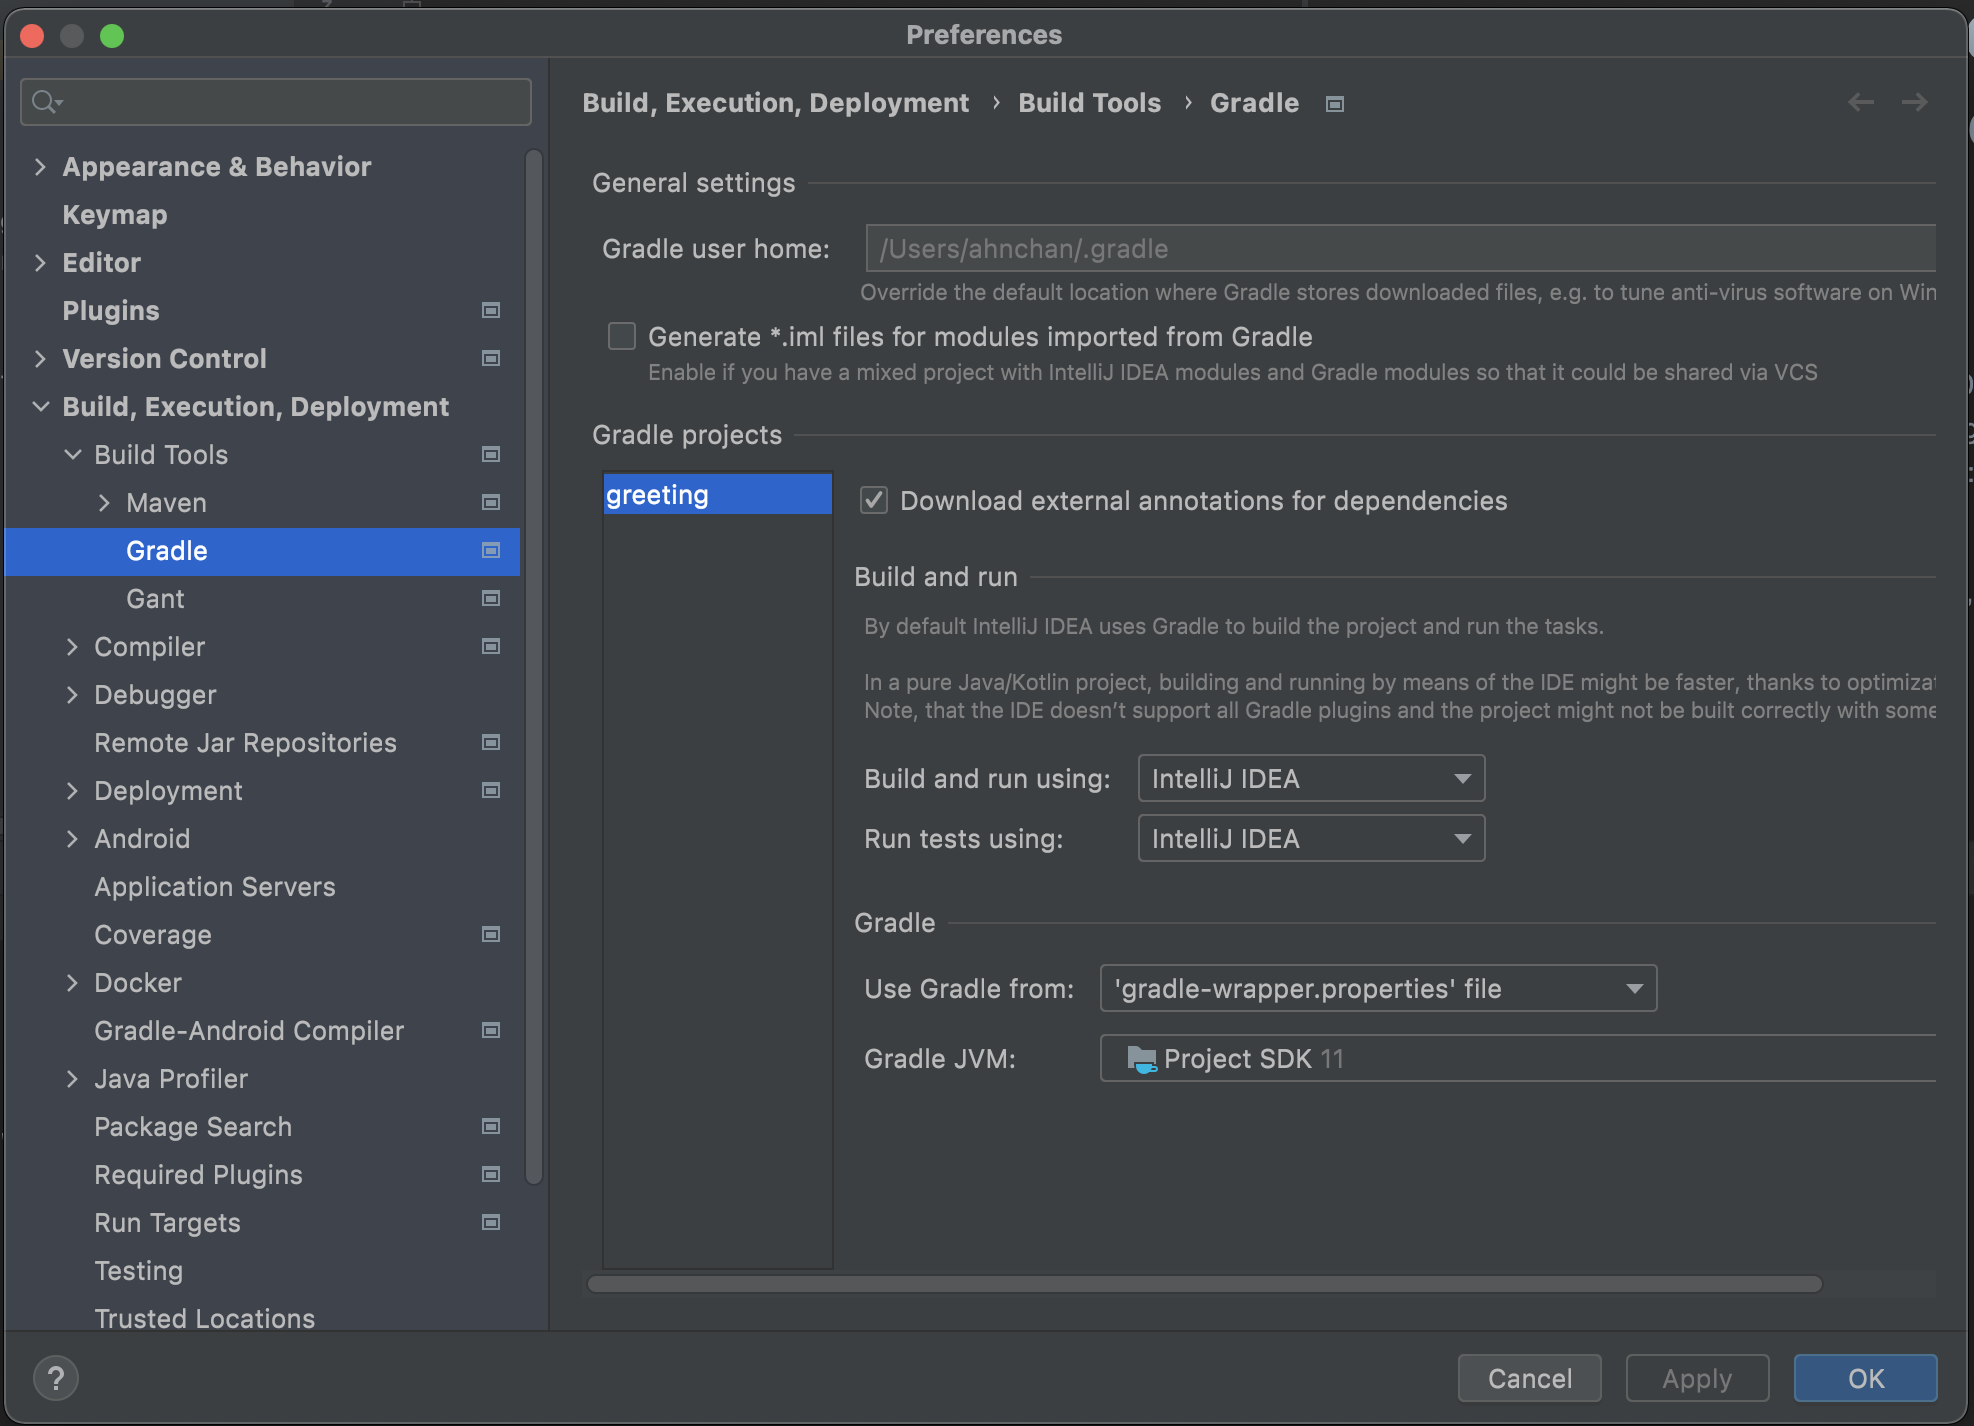
IntelliJ IDEA에 이 설정을 해야지 IDE에서 직접 실행, 종료할때 오류없이 진행된다. gRPC는 Terminate 시그널을 받아서 처리할 수 있는데 이 설정이 안되어 있으면 동작을 하지 않는다.
IntelliJ IDEA -> Preferences -> Builds, Executions, Development -> Build Tools -> Gradle -> Build and run using, Run test using:

환경구성을 마쳤으니 Dummny Service를 만들어서 간단하게 테스트를 해보자.
Dummy Service 를 만들기
Protocol Buffer 파일은 .proto로 만든다. 위에서 생성한 /src/main/proto 디렉토리에 dummy.proto 파일을 만들어 보자
파일: dummy.proto
1
2
3
4
5
6
7
8
9
10
syntax = "proto3";

package dummy;

option java_package = "com.ahnchan.gprc.dummy";
option java_multiple_files = true;

message DummyMessage {}

service DummyService {}
message는 자료 구조이다. service는 개발시 call을 하는 procedure 이다. dummyservice는 빈 message와 service를 가지게 작성되었다.
IntelliJ 에서 .proto Generate 하기
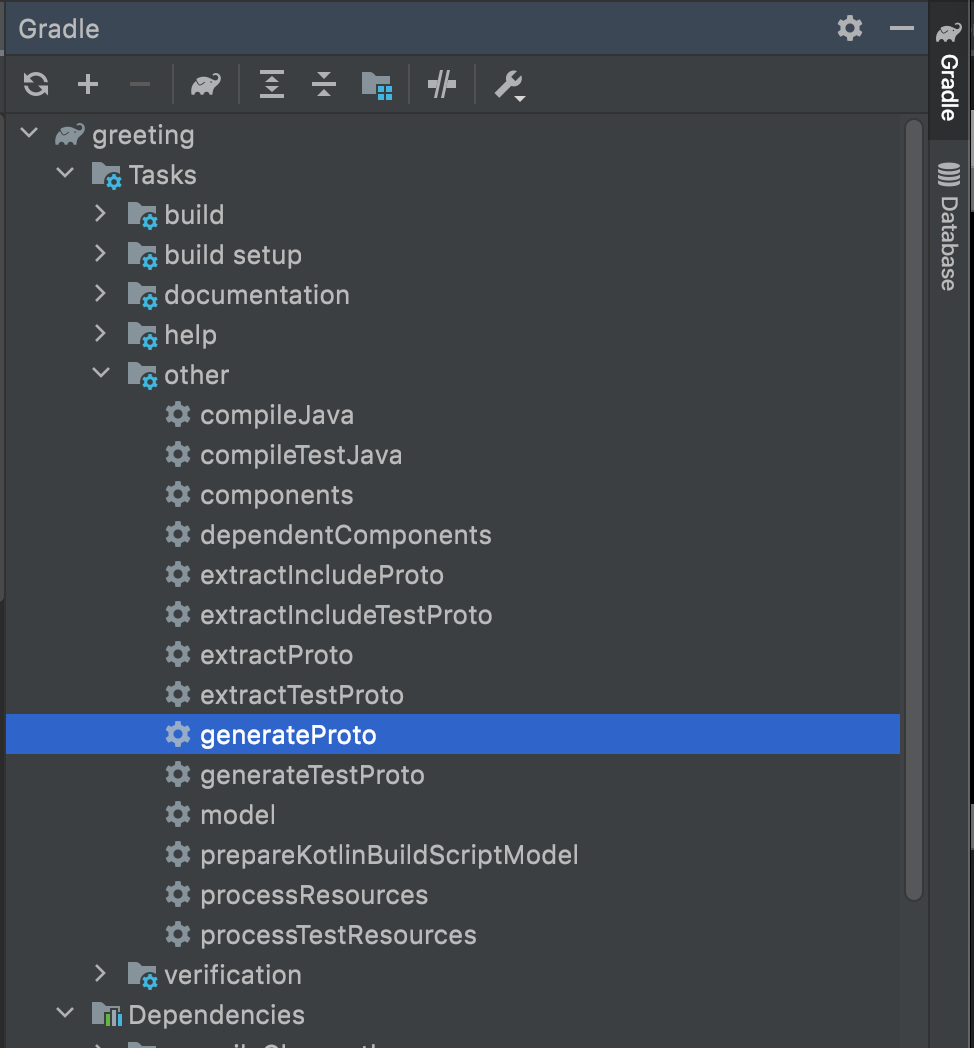
Gradle -> Tasks -> Others -> generate proto로 Generation을 할 수 있다.

generate가 성공적으로 이루어졌으면 /build/generated/source/proto/main 에 dummy package(directory) 가 생기고 각종 Java 파일이 생성되어 있는 것을 볼 수 있다.
gRPC Server / Client 만들기
proto파일로 generate가 잘되었으니 이제 server와 client를 만들어보자.
Dummy Server
dummy.proto에 service를 등록하지 않아서 특별히 구현할 부분이 있지는 않지만, 서버의 기본 구성인 포트 설정, 종료처리에 대해 간단하게 작성을 해보자.
파일: DummyServer.java
1
2
3
4
5
6
7
8
9
10
11
12
13
14
15
16
17
18
19
20
21
22
23
24
25
26
package com.ahnchan.dummy.grpc;

import io.grpc.Server;
import io.grpc.ServerBuilder;

import java.io.IOException;

public class DummyServer {

    public static void main(String[] args) throws InterruptedException, IOException {
        System.out.println("Dummy gRPC server");

        Server server = ServerBuilder.forPort(50051)
                .build();

        server.start();

        Runtime.getRuntime().addShutdownHook(new Thread( () -> {
            System.out.println("Received shutdown request");
            server.shutdown();
            System.out.println("Successfully stopped the server");
        }));

        server.awaitTermination();
    }
}
server의 port는 50051로 설정하였다. awaitTermination은 server의 shutdown 신호를 받으면, 메세지를 출력하고 server shutdown을 실행하도록 한다.
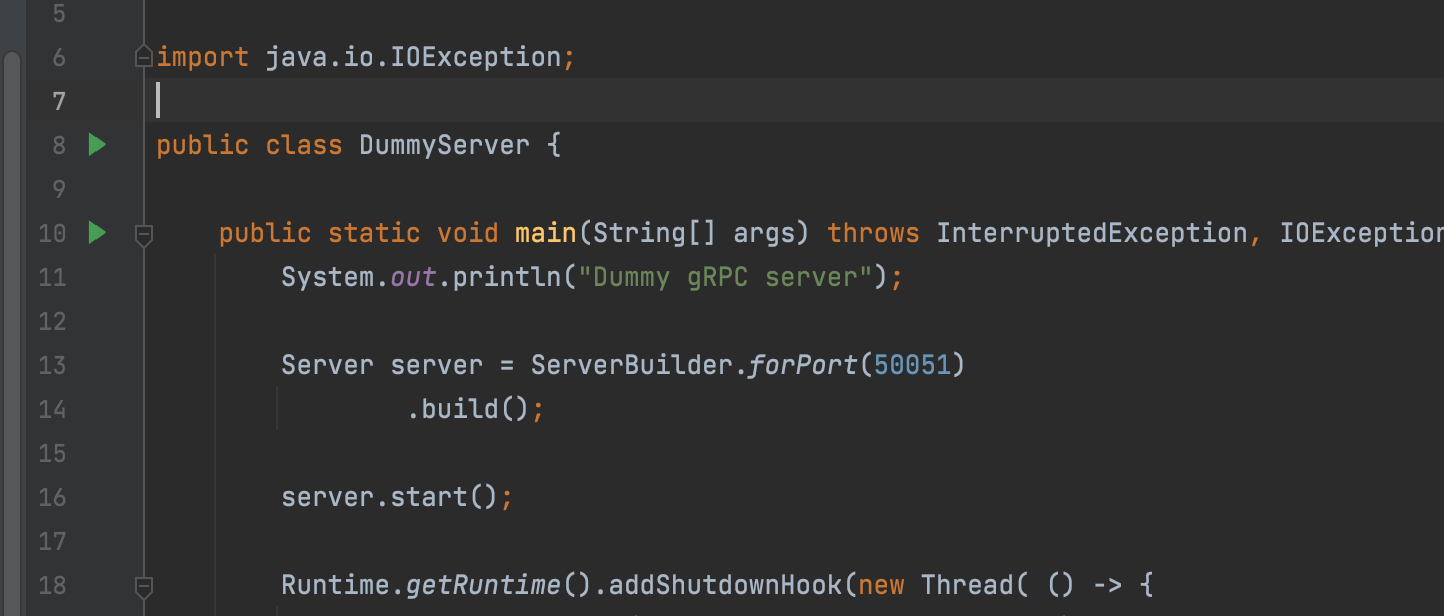
IntelliJ 에서 서버를 실행한다. Main 앞에 보이는 녹색 화살표를 누르면 실행이 된다. 혹은 위에 녹색버튼(Run)으로 실행을 할 수도 있다.

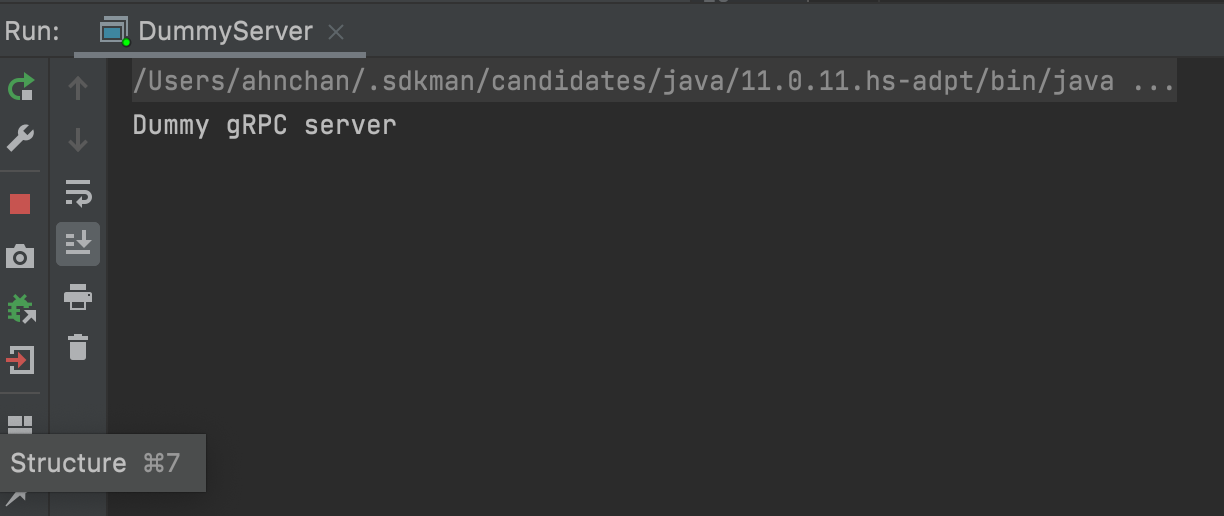
오류없이 실행이되면 아래 쪽 Output에 실행 메세지가 표시되면서 서버가 구동된다.

이제는 빨간 버튼으로 Terminate를 시켜보자.

addShutdownHook에 출력한 메세지가 보일 것이다.
Dummy Client
Client를 작성해보겠다. Server와 같이 실제 Service는 없기 때문에 생성하고 동작만 문제 없는지만 작성할 것이다.
파일: DummyClient.java
1
2
3
4
5
6
7
8
9
10
11
12
13
14
15
16
17
18
19
20
21
22
23
package com.ahnchan.dummy.grpc;

import com.ahnchan.gprc.greet.GreetServiceGrpc;
import io.grpc.ManagedChannel;
import io.grpc.ManagedChannelBuilder;

public class DummyClient {

    public static void main(String[] args) {
        System.out.println("Dummy gRPC client");

        ManagedChannel channel = ManagedChannelBuilder.forAddress("localhost", 50051)
                .usePlaintext()
                .build();

        // Blocking
        GreetServiceGrpc.GreetServiceBlockingStub greetClient = GreetServiceGrpc.newBlockingStub(channel);

        System.out.println("Shutting down channel");
        channel.shutdown();

    }
}
channel을 생성하면서 Server의 위치를 localhost, 50051로 설정을 한다. client를 Synchronous 하게 생성을 한다. 그리고 실행을 하면 아래와 같이 표시될 것이다.

이번에는 client를 선언만 하여서 아무것도 하지 않고, 실행하자마자 종료가 될 것이다.
Conclusions
REST API를 하다가 gRPC가 사용하면 어렵게 느껴질수도 있다. 하지만, 많은 장점이 있다. 나는 gRPC가 고전적인 통신방법으로 옛날에 Protocol을 설계하고 TCP/IP 통신에서 사용하던 방식과 유사하여 좀더 효율적이라고 생각한다. JSON, XML 기반의 API를 많이 사용해본 사용자라면, 매번 스펙문서를 Update하고, 코딩을 하면서 맞추는 것도 상당히 시간이 걸린다. Protocol Buffer로 정의된 스펙(코드로)을 기반으로 Message와 Service를 사용하니 조금 복잡하더라도 더욱 효율적이라고 생각된다.
다음 튜토리얼에서는 Synchronos, Asynchronous 방식의 통신과 Unary, Streaming(Client, Server, Bi Directional)에 대해 진행을 해보도록 하겠다.
References
gRPC [Java] Master Class: Build Modern API and Microservices